
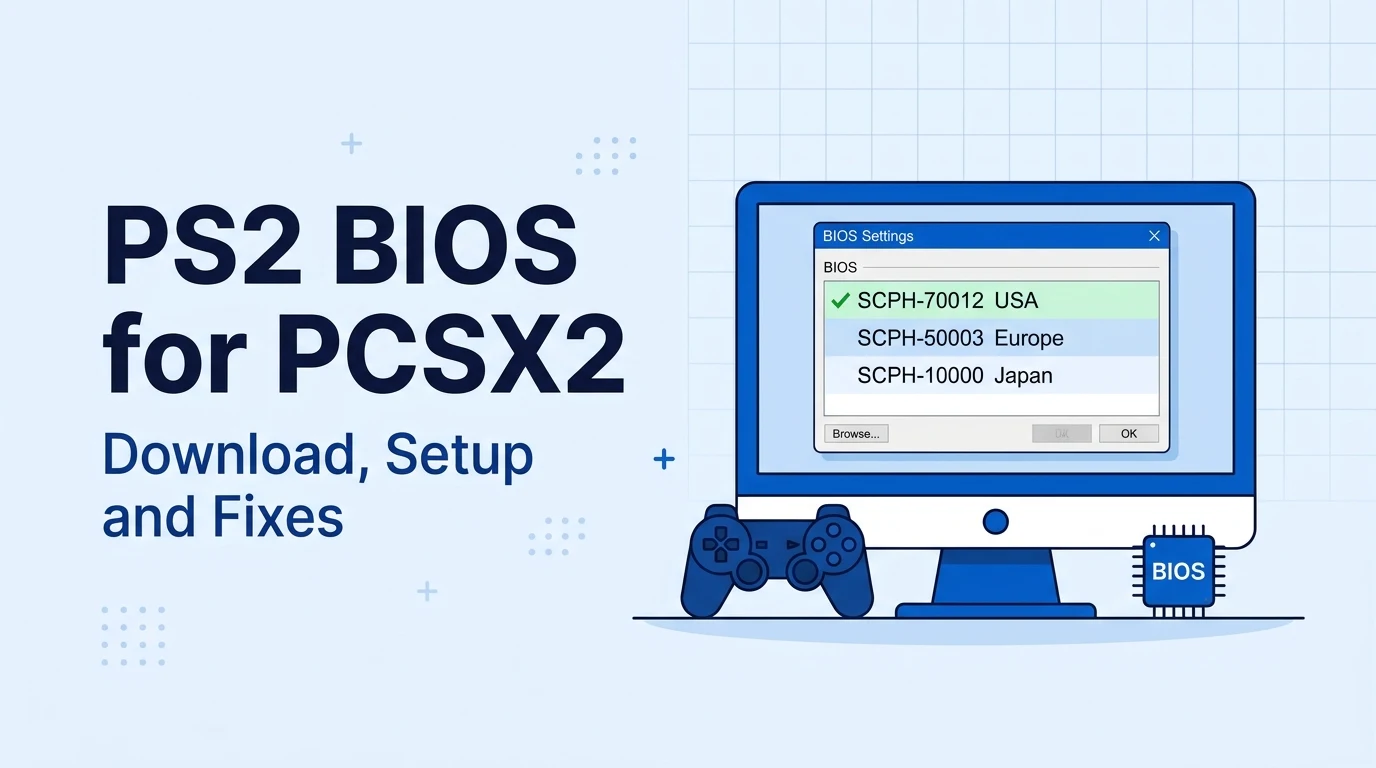
PS2 BIOS for PCSX2: Download, Setup and Fixes
The PS2 BIOS for PCSX2 is a copy of the PlayStation 2’s built-in firmware. PCSX2 cannot boot a single game without it. You get the file, place it in the PCSX2 bios folder, click Refresh List under Settings, then BIOS, and select it. The whole job takes about five minutes.
What Is the PS2 BIOS for PCSX2?
The BIOS is the first code a PlayStation 2 runs when you press the power button. Sony wrote it, and it lives on a chip inside every console. It starts the Emotion Engine processor and the Graphics Synthesizer. It also reads memory cards, shows the system menu and checks each disc before a game loads.
PCSX2 is a free, open-source emulator for Windows, macOS and Linux. It rebuilds the PS2 hardware in software. It does not rebuild Sony’s firmware, so you have to supply that part yourself. On a phone, see our PS2 emulator for iPhone guide.
Why PCSX2 Will Not Start Games Without It
The PCSX2 team states it plainly: “PCSX2 cannot play games without a BIOS.” No open-source replacement exists. That is why the setup wizard stops at the BIOS page until you give it a valid file.
BIOS vs ROM vs ISO
People mix these terms up, so here is the short version.
| Term | What it is | Do you need it? |
|---|---|---|
| BIOS | The console’s firmware | Yes, once |
| BIOS image or BIOS ROM | A dumped copy of that firmware, saved as a file | Yes, this is what PCSX2 loads |
| ISO or CHD | A copy of a game disc | Yes, one per game |
A “PS2 BIOS ROM” and a “PS2 BIOS image” are the same thing. The name comes from the read-only memory chip the firmware sits on.
PS2 BIOS File Details at a Glance
These facts help you spot a complete PS2 BIOS for PCSX2 before you set anything up.
| Detail | Information |
|---|---|
| Main file | .bin in most downloads, .rom0 in a fresh dump |
| Main file size | 4 MB (4,194,304 bytes) |
| Companion files | .rom1, .rom2, .erom, .nvm, .mec |
| Regions | NTSC-U, NTSC-J, PAL, NTSC-C |
| Current PCSX2 release | 2.8 series (2.8.0 shipped August 28, 2026) |
| Systems | Windows 10 and 11, macOS 11 or later, Linux, Steam Deck |
| Download format | ZIP archive, extract before use |
Only the main image is needed to boot games. The companion files hold DVD player data, console settings and the disc drive controller version. Keep the full set together in one folder anyway.
Which PS2 BIOS Should You Use in PCSX2?
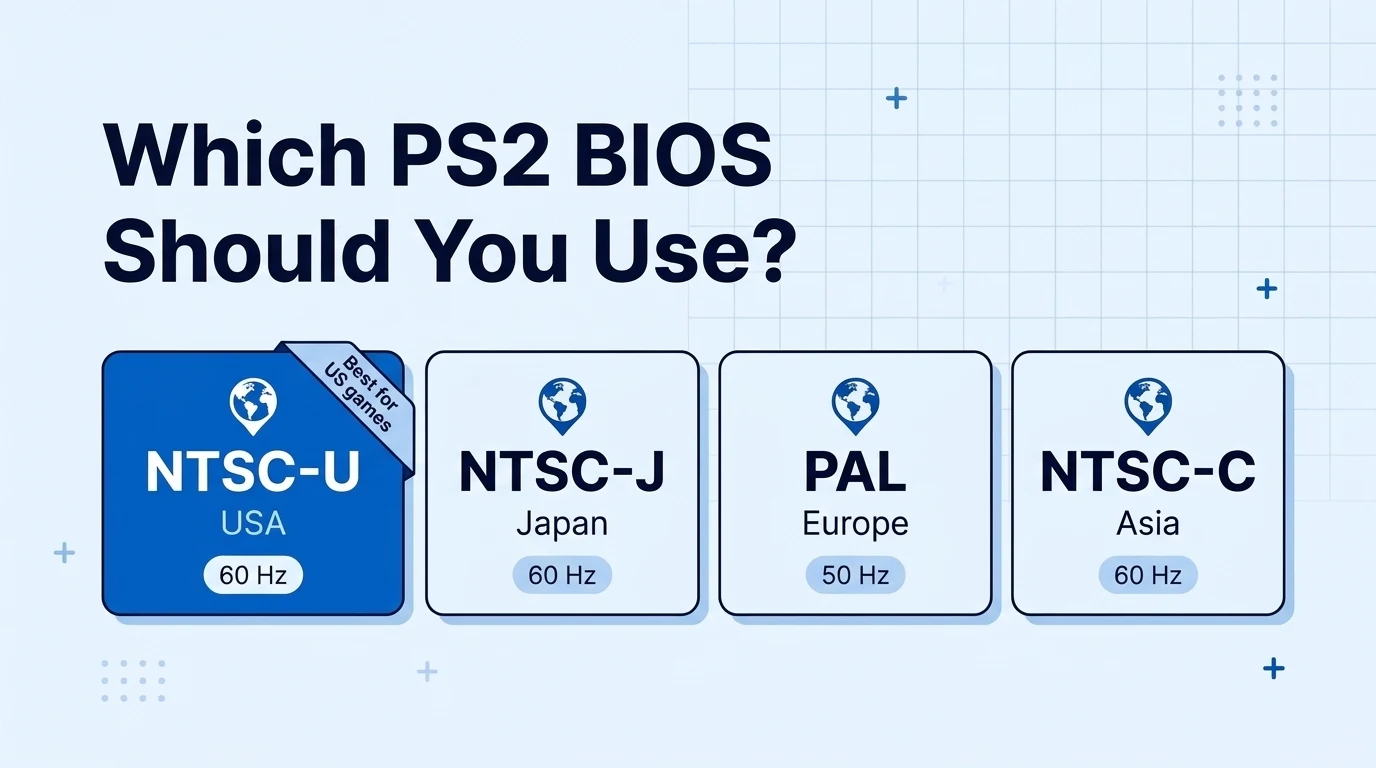
Pick the PS2 BIOS for PCSX2 that matches the region of most games you own. For US players, that means an NTSC-U file such as SCPH-39001 or SCPH-70012.
Regions and SCPH Model Numbers
Every PS2 has an SCPH model number on the label at the back or bottom. Game cases carry a serial code that shows their region.
| Region | Common BIOS models | Game serial starts with | Refresh rate |
|---|---|---|---|
| USA and Canada (NTSC-U) | SCPH-39001, SCPH-70012, SCPH-90001 | SLUS, SCUS | 60 Hz |
| Japan (NTSC-J) | SCPH-10000, SCPH-18000, SCPH-70000 | SLPS, SLPM, SCPS | 60 Hz |
| Europe and Australia (PAL) | SCPH-50003, SCPH-70004 | SLES, SCES | 50 Hz |
| China and Asia (NTSC-C) | Regional models | Varies | 60 Hz |
PCSX2 also shows each game’s serial in its game list. That saves you from digging out the case.
Does the BIOS Region Have to Match the Game?
Not always. Most games boot with a BIOS from any region. Some BIOS versions still run a region check during a full boot, which can block a game or change its language. A matching region avoids those quirks, so it is the safe choice.
Does One BIOS Version Run Faster?
No. Many sites claim the USA BIOS gives better speed. A long-time PCSX2 forum member put it simply: “There’s no difference between the two in PCSX2.” Your frame rate depends on your CPU, GPU and settings, not the BIOS version.
Download the PS2 BIOS for PCSX2
You can get the PS2 BIOS for PCSX2 from the region cards on ps2biosdownloads.com. Each card shows the region, the SCPH models inside and the file size. A full pack holds every region in one ZIP.
After the download finishes:
- Extract the ZIP with 7-Zip, WinRAR, or the built-in tool on Windows or macOS.
- Keep the original file names. PCSX2 reads the version and region from inside the file, not from its name.
- Do not put the files in a subfolder. PCSX2 only lists files that sit directly in its bios folder.
Prefer to make your own copy? Skip to the dumping section below. The PCSX2 team recommends that route.
How to Add a BIOS to PCSX2 (Step by Step)
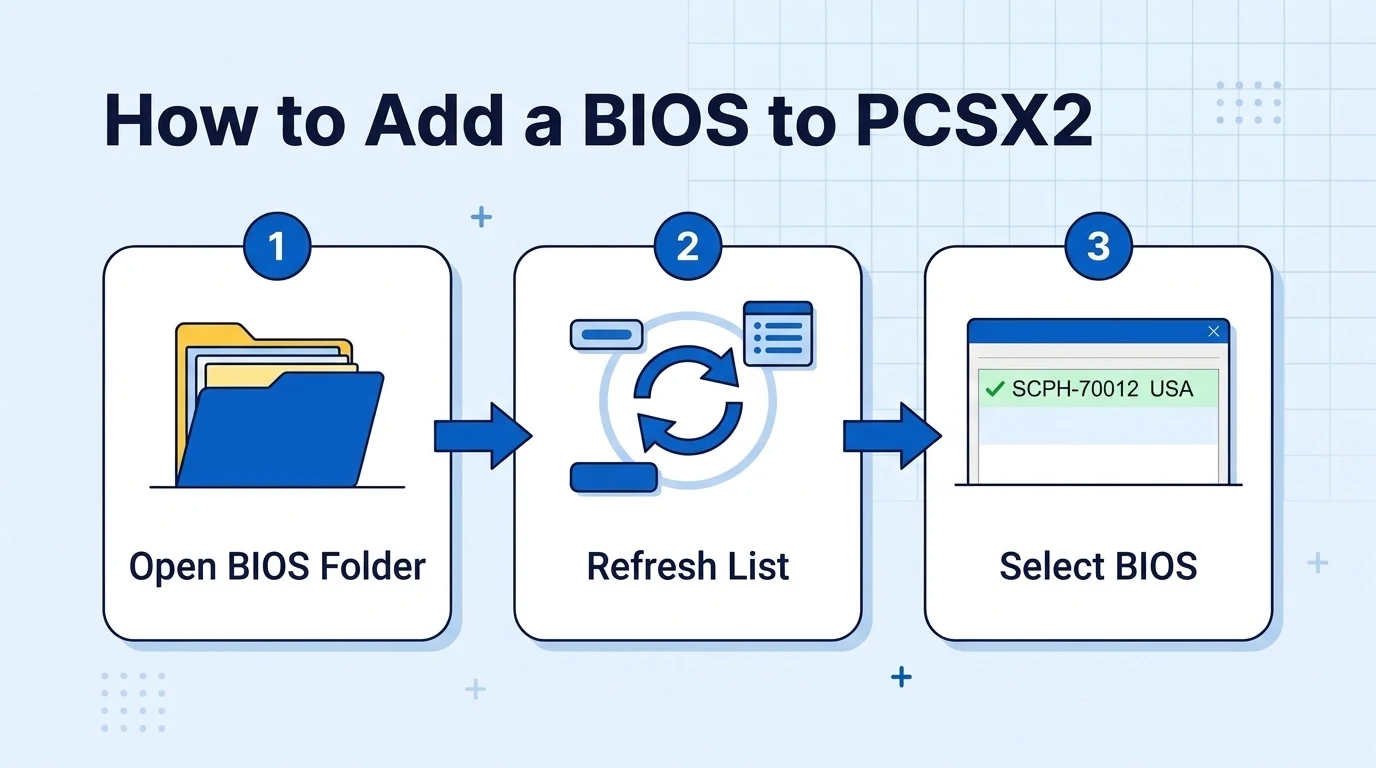
You can add the BIOS during first launch or at any time later. Both paths end in the same place.
Add It in the First-Run Setup Wizard
- Open PCSX2. The setup wizard starts on first launch.
- Choose your language and theme, then click Next.
- On the BIOS page, click Open BIOS Folder. Your file manager opens at the right location.
- Copy all your BIOS files into that folder.
- Go back to PCSX2 and click Refresh List. Your BIOS appears with its region and version.
- Select it and click Next.
- Add the folder where you keep your game files, then finish the wizard.
Add or Change It Later in Settings
Open Settings, then BIOS. Click Open BIOS Folder, copy in the new file, and click Refresh List. Select the version you want and close the window. You can keep several BIOS files and switch between them here at any time.
PCSX2 BIOS Folder Location by System
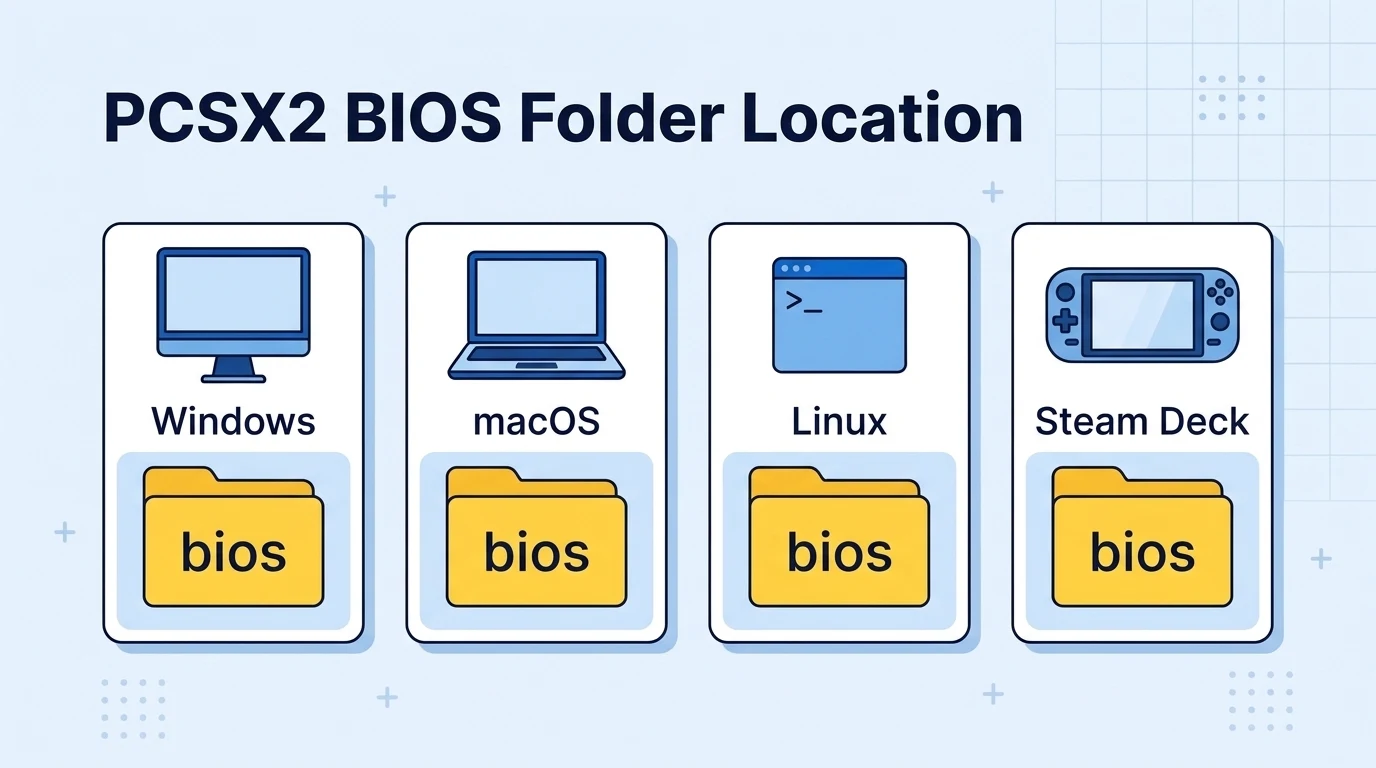
The setup wizard opens this folder for you. If you prefer to copy files by hand, use these default paths. They come from a current PCSX2 setup guide and match where PCSX2 2.x stores its data.
| System | Default BIOS folder |
|---|---|
| Windows (installer) | Documents\PCSX2\bios |
| Windows (portable) | The bios folder inside the PCSX2 folder |
| macOS | ~/Library/Application Support/PCSX2/bios/ |
| Linux (AppImage) | ~/.config/PCSX2/bios/ |
| Linux (Flatpak) and Steam Deck | ~/.var/app/net.pcsx2.PCSX2/config/PCSX2/bios/ |
| Steam Deck with EmuDeck | Emulation/bios on the drive you chose |
On Windows, PCSX2 keeps its data in Documents by default. The PCSX2 docs explain portable mode: create an empty portable.ini or portable.txt file next to the program. PCSX2 then keeps the BIOS and all settings in its own folder.
On Apple Silicon Macs, PCSX2 runs through Rosetta 2. macOS asks to install it on first launch. Click Install and the setup continues as normal.
How to Dump Your Own PS2 BIOS for PCSX2
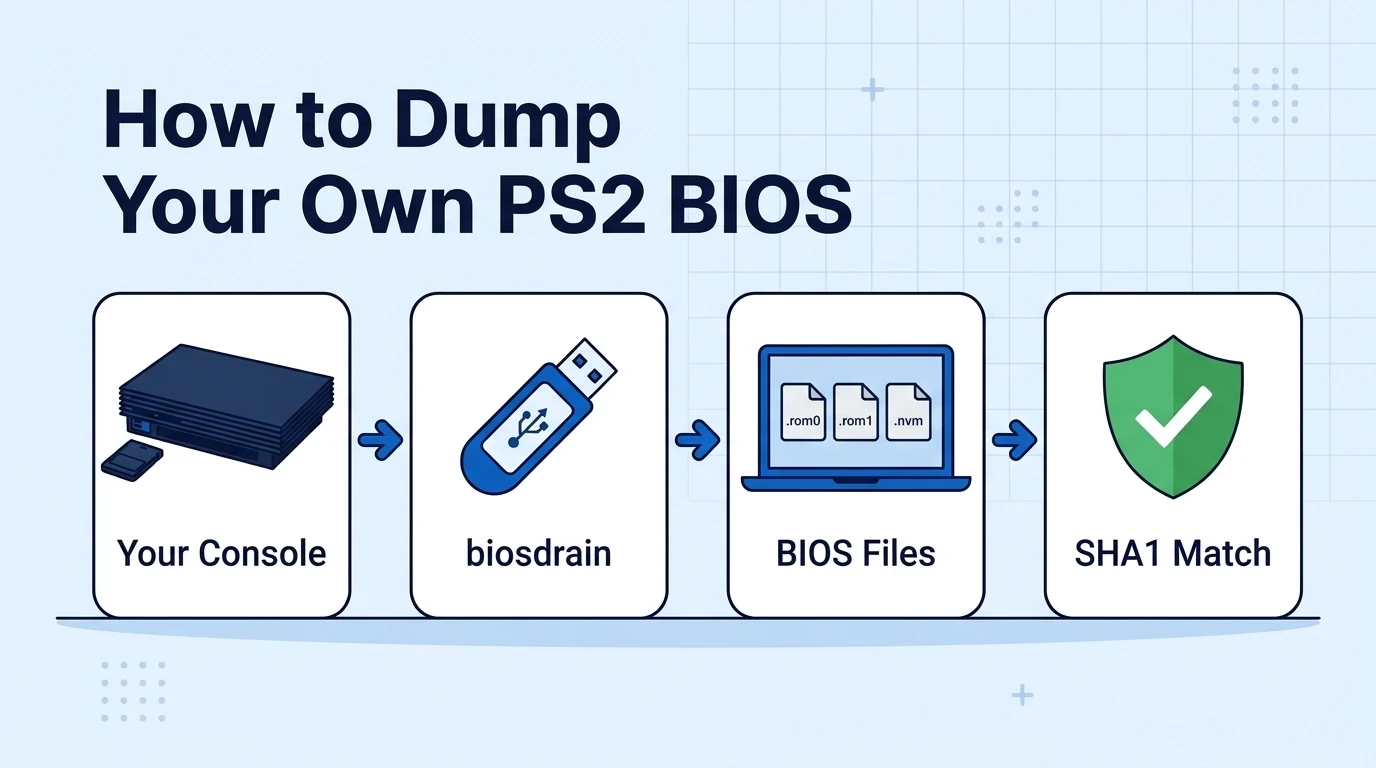
Dumping copies the firmware from a console you own. The official PCSX2 guide splits the job into two parts. First you let the PS2 run homebrew. Then a small program writes the BIOS to a USB drive.
What You Need
- A PlayStation 2 you own
- A USB flash drive, ideally USB 2.0
- One of the softmods below
- biosdrain, a free BIOS dumper by F0bes
| Method | Skill | Cost | Works on |
|---|---|---|---|
| FreeMcBoot memory card | Very low | About $15 | Fat models and most slims |
| Fortuna (OpenTuna) card | Low | About $15 | Slims that FreeMcBoot does not support |
| FreeDVDBoot disc | Low | Free | Many slims, some fat models |
PCSX2 notes that none of these softmods permanently changes your console. It does not recommend the disc swap exploit or a modchip for most people.
Dump the BIOS With biosdrain
- Format the USB drive as FAT32 with an MBR partition. On Windows, Rufus does this; pick “Non bootable”. Formatting erases the drive.
- Download biosdrain.elf from its GitHub releases page and copy it to the drive.
- Put the FreeMcBoot card in memory card slot 1. Leave the disc tray empty.
- Turn on the PS2 and open uLaunchELF from the menu.
- Plug in the USB drive and open “mass:”.
- Run biosdrain.elf and wait for “Finished Everything”. PS2 USB transfers are slow, so give it time.
- Move the drive to your computer. The files start with your console’s model ID and end in .rom0, .rom1, .nvm and similar.
Check the Dump Against Redump
The Redump project lists SHA1 hashes for every known PS2 BIOS. Compare yours to confirm a clean, complete copy. On Windows, open PowerShell and run:
Get-FileHash SCPH-70012.rom0 -Algorithm SHA1On macOS, run shasum -a 1 on the file in Terminal. On Linux, use sha1sum. A match means your dump is perfect.
Best PCSX2 Settings After Adding the BIOS
The BIOS is only the start. Two settings make the biggest difference to your first session. For controls, see how to connect a PS5 controller to your PC.
Fast Boot vs Full Boot
Fast Boot skips the PS2 startup animation and loads the game straight away. It is the right choice for everyday play. Full Boot runs the real BIOS intro. Use it to set the console clock or language, or when a game acts strangely with Fast Boot.
Pick a Renderer
PCSX2 2.8 sets Direct3D 12 as the default on most Nvidia and AMD cards. Vulkan is a strong choice on Linux and Steam Deck. Metal is the option on macOS. Start at native resolution, confirm the game runs at full speed, then raise it to 2x or 3x.
PCSX2 BIOS Errors and How to Fix Them
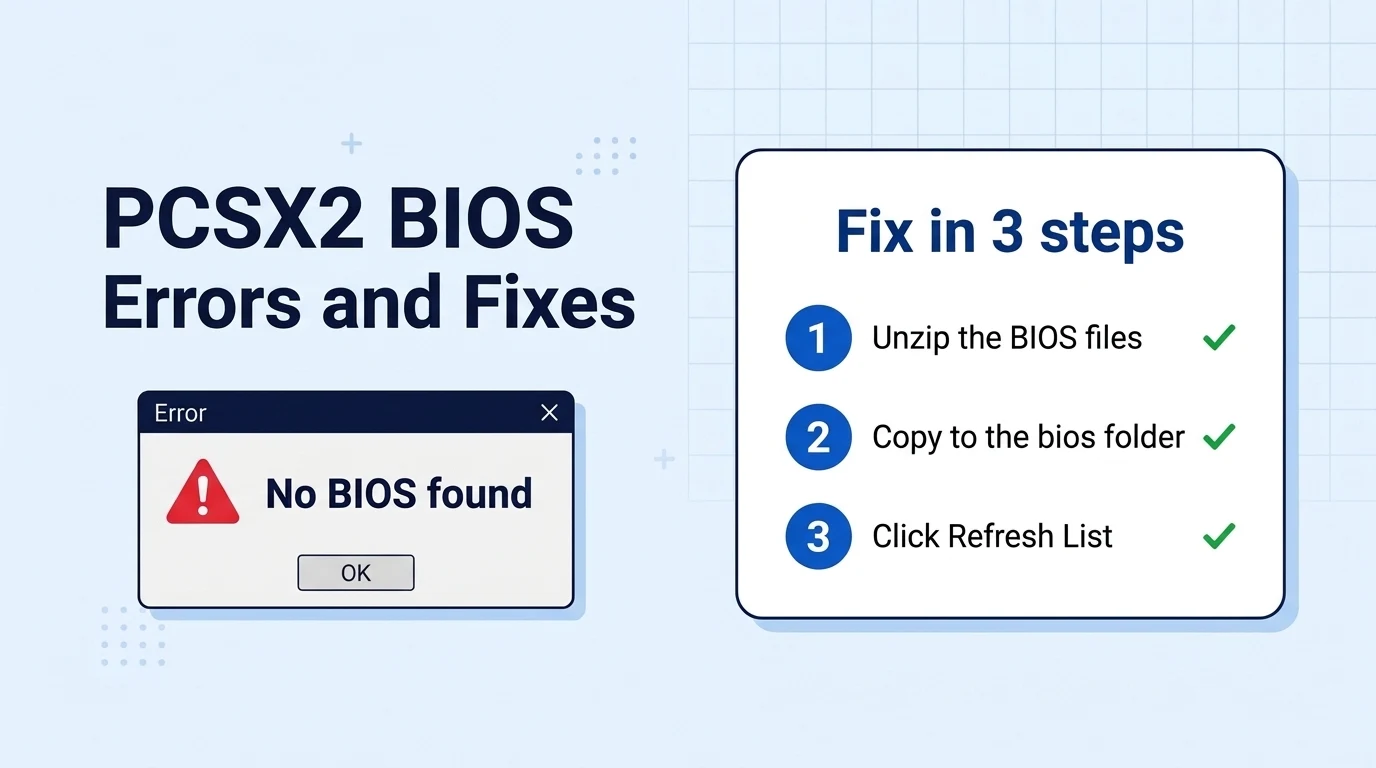
Most problems with a PS2 BIOS for PCSX2 come down to file location or a damaged file. Work through this table from the top.
| Error | Likely cause | Fix |
|---|---|---|
| “No BIOS found” or an empty list | Files are still zipped, in a subfolder, or in the wrong folder | Extract the ZIP. Use Open BIOS Folder, copy the files in, click Refresh List |
| “Please select a valid BIOS” | The file is incomplete or not a real BIOS image | Check the main file is 4 MB. Compare its SHA1 with Redump |
| BIOS disappears after a restart | PCSX2 cannot save its settings, which can happen when Documents syncs to the cloud | Move PCSX2 data to a local folder or use portable mode, then select the BIOS again |
| Game hangs at the PS2 logo | A boot setting conflict or a bad dump | Turn Fast Boot off once, then back on. Confirm the file size |
| Game shows the wrong language | The BIOS region or saved console settings do not match | Pick a matching region, or delete the .nvm file so it regenerates |
| Black screen after a game loads | A damaged game dump | Right-click the game, open Properties and click Verify, as the PCSX2 troubleshooting page explains |
PCSX2 System Requirements
A working PS2 BIOS for PCSX2 will not help if your computer falls short. These figures come from the official requirements page.
| Spec | Minimum | Moderate |
|---|---|---|
| Operating system | Windows 10 (21H2 LTSC or 22H2), macOS 11, Ubuntu 22.04 | Windows 11, macOS 14 or 15, current Linux |
| CPU | x86-64 with SSE4.1, 2 cores, PassMark single thread 1500 | AVX2, 4 cores, PassMark single thread 2000 |
| GPU | Vulkan 1.1, Direct3D 11, OpenGL 3.3, G3D Mark 600 | Vulkan 1.3, Direct3D 12, Metal, G3D Mark 6000, 4 GB VRAM |
| RAM | 8 GB | 16 GB |
PCSX2 dropped 32-bit support after version 1.6.0. You need a 64-bit system to run any current build.
Is Using a PS2 BIOS in PCSX2 Legal?
Sony owns the copyright to the PS2 BIOS. The PCSX2 project’s official route is to dump the BIOS from a console you own. Downloading a copy made from someone else’s console is where copyright problems start. Laws differ by country, so check the rules where you live. This guide is not legal advice. Prefer a console? Learn whether you can play PS2 games on PS3 or play PS2 games on PS4.
FAQs
Does PCSX2 need a BIOS?
Yes. PCSX2 cannot boot PS2 games without a BIOS file. The emulator recreates the PS2 hardware but not Sony’s firmware, so you must supply a BIOS dump before the setup wizard lets you continue.
Where do I put the PS2 BIOS in PCSX2?
On Windows, the default folder is Documents\PCSX2\bios. The easiest route is Settings, then BIOS, then Open BIOS Folder. Copy your files there, click Refresh List, and select the BIOS that appears.
Which PS2 BIOS is best for PCSX2?
The best BIOS matches your game’s region. For US games, use an NTSC-U dump such as SCPH-39001 or SCPH-70012. Every version performs the same in PCSX2, so region matters more than model number.
Why does PCSX2 say “please select a valid BIOS”?
Usually the file is still zipped, sits in a subfolder, or is incomplete. Extract it into the bios folder, check that the main file is 4 MB, then click Refresh List under Settings and BIOS.
Can I use more than one BIOS in PCSX2?
Yes. Put every BIOS file in the same bios folder and PCSX2 lists them all. Switch between them under Settings, then BIOS. Many players keep one per region to avoid language and timing quirks.
How big is the PS2 BIOS file?
The main BIOS image is exactly 4 MB, or 4,194,304 bytes. A full dump also includes smaller companion files such as .rom1, .nvm and .mec. A much smaller main file is probably incomplete.